Hey! By the way… TheEdibleTerrace is reader-supported. When you buy through links on our site, we may earn an affiliate commission and as an Amazon affiliate, we earn from qualifying purchases. Thanks in advance for your support!
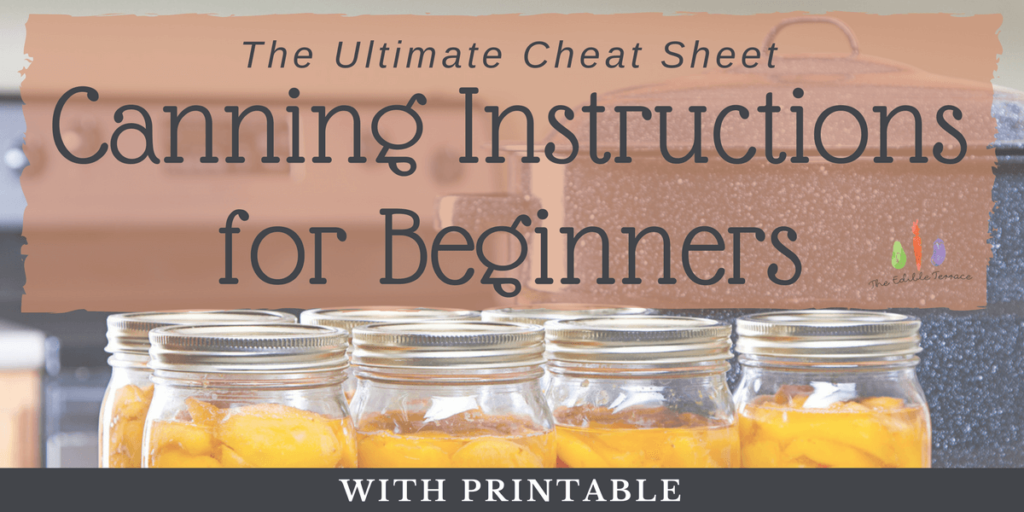
Canning instructions for beginners: I give you all the steps without all the fluff.
[toc]
Decide Which Canning Method You Want To Use
Granite Ware Enamel-on-Steel Canning Kit, 9-Piece
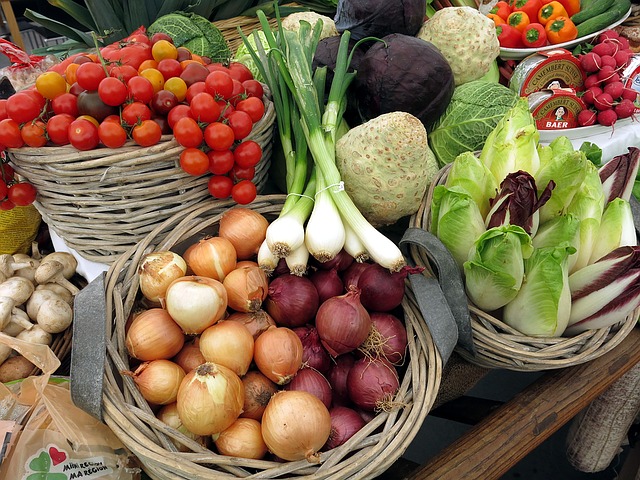
What Foods Are You Canning?
Are you canning a low-acid food, high acid food or one more toward the middle? It is recommended that low acid foods be processed at the higher heat only a Pressure Canner can achieve to ensure dangerous microorganisms are destroyed.
High acid foods can be canned using a Boiling Water Canner or Pressure Canner.
Do you know which foods are high acid or low acid? No? I got you covered. It is simplest to just give you the list of low acid foods.
In essence, low acid foods are: vegetables, all animal meat (including fish), soups, stews, anything with tomatoes in it and meat sauces.
Low Acid Foods List
- Asparagus
- Beans – Lima – Shelled (fresh), green and wax
- Beets
- Carrots
- Corn (cream style and whole kernel)
- Peas (green)
- Peppers
- Potatoes
- Pumpkin and Winter Squash
- Spinach and other Greens
- Soups (not seafood)
- Meat or Poultry
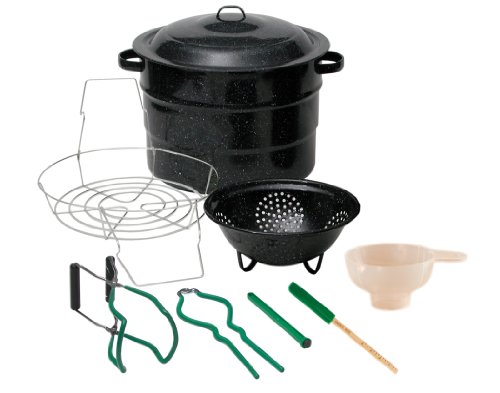
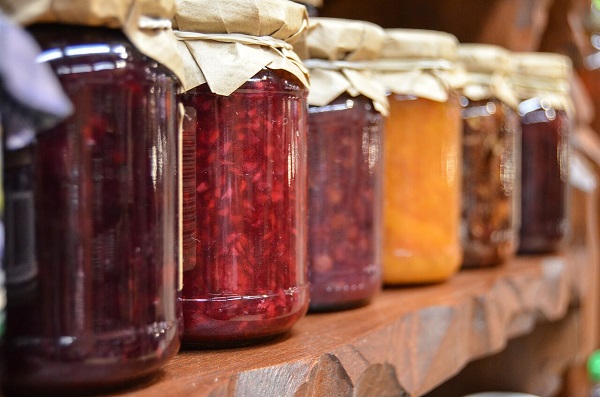
Canning & Preserving Equipment List
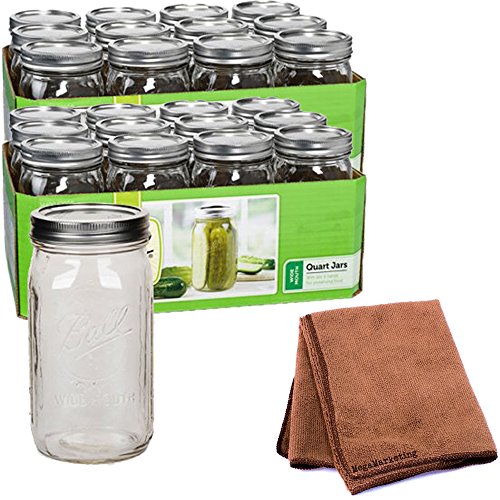
- Glass Canning or Mason jars – Make sure the jars you use are made specifically for canning and the neck fits the two-piece jar lid mentioned next
- Jar Lids – Canning jar lids are actually two pieces. You have the screw band and a flat metal lid with a seal on the underside.
- Boiling Water Canner – A Boiling Water Canner is in essence just a kitchen pot that is deep enough to double as your boiler.
– OR –
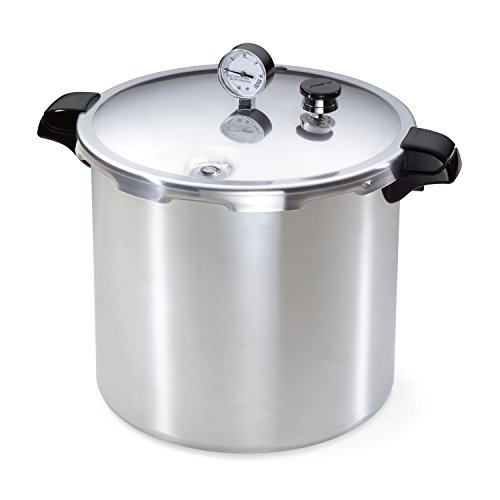
- Pressure Canner – Many of these also double as a boiling water canner so you do not need to worry about buying two different appliances.
- Jar Rack – A cake cooling rack can also be used if it fits flat in the bottom of the pan.
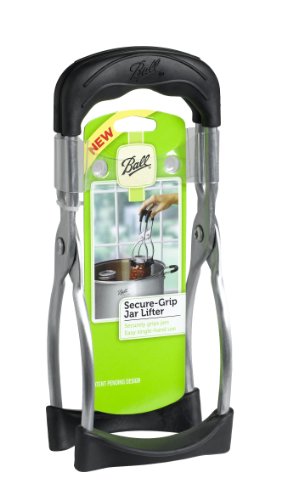
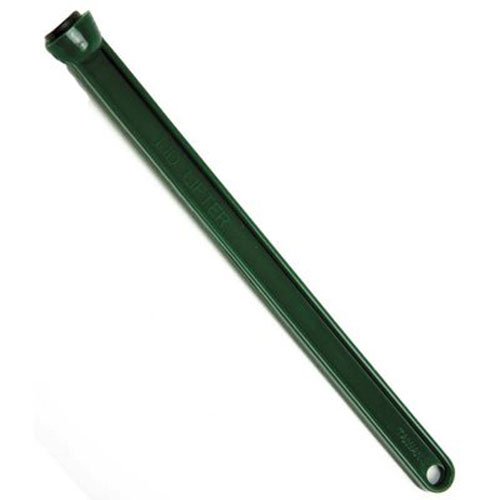
- Jar Lifter – These are basically a set of large, plastic coated tongs that will help you pull your jars out of the water without you running the risk of burning yourself.
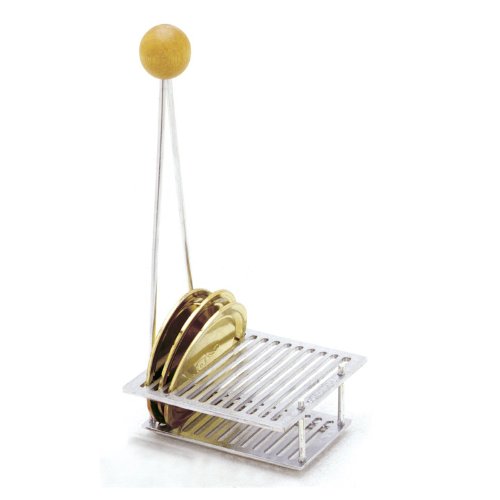
Norpro Canning Essentials Boxed Set, 6 Piece SetBall Quart Jar, Wide Mouth, Set of 24 with Cleaner ClothBall Secure-Grip Jar Lifter (by Jarden Home Brands)Canning Lid Rack – Holds 12 regular or wide mouth canning lids
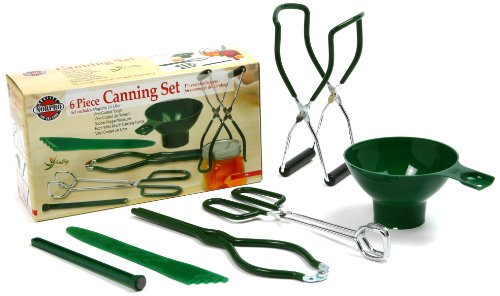
Optional Supplies
- Canning Funnel – These funnels have a wide mouth and make it easier for you to fill your jars.
- Magnetic Wands – This plastic “stick” with a magnet on the end makes it easier for you to pull newly boiled lids out of the water.
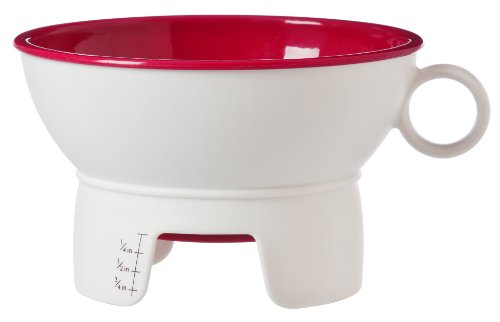
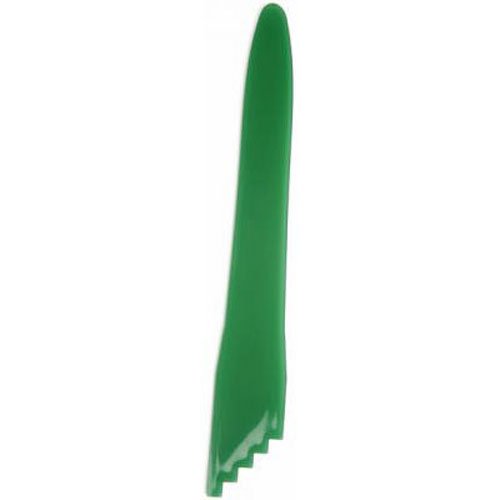
- Bubble Remover Tool – This tool helps you remove the trapped bubbles from your jars. A silicone spatula will also work.
Note to Self: Always use nonmetallic utensils for canning. The metal might damage your jar without you even realizing.
Canning Funnel-Reg & Wide Mouth JarsNorpro Magnetic Lid WandNORPRO 591 Bubble Popper/Measurer
Steps for Canning Food
In reality, you will follow a specific recipe for most of the items you preserve. i.e. Strawberry preserves versus pears in syrup versus pickles.
*Read through all steps first before beginning
Overview of Canning High-Acid Foods in a Boiling Water Canner
- First, have all supplies prepped and ready before you begin. Wash jars and lids in hot soapy water. Rinse and drain thoroughly. Don’t worry about drying them.
- Put as many empty jars as will fit into the boiling water canner, fill with water, put the lid on and turn on medium heat. You don’t need to boil the jars. You just want the water to get to 180F/82C. Keep the jars hot until you’re ready to use them.
- In a small saucepan, heat the water on medium to 180F and place only the flat part of the canning lids into the pan. Keep them hot until you’re ready to use them. *The screw bands do not need to be heated.
- Prepare your food. If it will take longer than 30 minutes to make, wait until the food is cooking before you start boiling the jars and lids.
- Once your food is ready to can, take one jar out of the canner and pour the water back into it. Put the jar on a heat protected surface such as a wooden cutting board. There are also heat proof trays available if you prefer. This is actually a really important step because if you put the jars on a surface that is too cold they can crack.
- Fill the jars with your prepared food. You will need to leave at least ½ inch of space at the top of the jar (called headspace). This space varies depending on which food you are filling. For example, fruit juice only needs ¼ inch of headspace.
- Gently press your nonmetallic spatula or bubble remover into and out of the jar two to three times to release the bubbles. If needed, add more food to the jar. Do not neglect this step. Removing the air bubbles ensures the lids seal properly and your food retains its quality.
- If necessary, wipe the jar rim and threads with a clean damp cloth.
- Lift one of the flat lids out of the saucepan and place on the jar centering the sealing ring over the rim of the jar. Then screw on one of the screw bands. Screw as tight as your fingertips will allow. Don’t use a tool to do this. You don’t want it to be too tight.
- Put the jar back into the boiling water canner.
- Repeat the previous steps until you have all jars filled. Then fill the boiler pot up until there is 1 inch of water covering the jars. Cover the canner with a lid and bring to a full boil. Once the water is continuously boiling, start the countdown based on the recommended time in the recipe.
- After the time is up, turn off the stove and remove the canner lid. Let it sit for approx. 5 minutes. This is actually a really important step to the canning process so don’t be in a hurry. You’re almost done. This might be a good time to refill your wine glass!
- After your five minutes is up, remove the jars from the pot with your tongs. Do NOT let them tilt! Also, do not worry about any water that stays on the lid for now. It will evaporate. Oh, and do not dry the lids. You might mess up your seal.
- Put the jars on a towel in a draft free spot for 24 hours. If you’re concerned about a draft, drape a towel over them.
- After 24 hours, remove the screw bands and press down on the center of the lid. If it is concave, you know it sealed properly. If you’re not sure grasp the edges of the lid with one hand, put your other hand under the jar and lift up. If the seal is strong, it will stay firmly attached.
If you do not feel the jar sealed properly, either refrigerate it or immediately go through the process of resealing it again. FYI, reprocessing it may compromise the taste.
Presto 23-Quart Pressure Canner and Cooker – Amazon’s ChoiceAdditional Tips:
Always put hot food in a jar that has been preheated. You want to heat these jars in hot water. (A dishwasher can be used assuming you fill them while still hot.) NEVER heat them in an oven. No Bueno.
The flat canning lids can only be used once. The protective coating is permanently shaped by its first vacuum seal thus will not seal tightly to any subsequent jars.
Canning Food with a Pressure Canner
I don’t mean to sell you short here but each food item has its own recipe and own way of being canned. It is absolutely safest to follow the specific instructions for the foods you want to preserve. This will prevent you from getting botulism – which can be deadly.
I highly recommend you pick up Ball’s Complete Book of Home Preserving. In my mind, it is the best book out there with canning instructions for beginners.
They are incredibly thorough and leave no step out! I specifically picked up the Spiral Bound version as it lays out flat on the counter. There is nothing worse than a recipe book THAT WILL NOT STAY OPEN!
Here is Ball’s website so you can check some of their recipes out.
Download my Canning Instructions for Beginners: The Ultimate Cheat Sheet
Other Food Preservation Articles
An Introduction To Canning Food For Beginners
Eating Healthy Year Round With Traditional Food Processing Preservation Methods
The Benefits Of Pickling Food From Your Garden
The Best Way To Store Fruits & Vegetables So They Will Last Longer
How To Decide What To Can, What To Freeze And What To Dehydrate
The Best Way To Preserve Fresh Fruit Is By Making Jelly and Jam
Dehydrating Food Tips – What You Need to Know
Can I Freeze Fresh Vegetables And Fruit? Yes You Can!
Where To Find Great Deals On Produce To Preserve
Five Common Methods of Processing & Preserving Food
5 Pinteresting People Teach Us How To Harvest and Dry Herbs
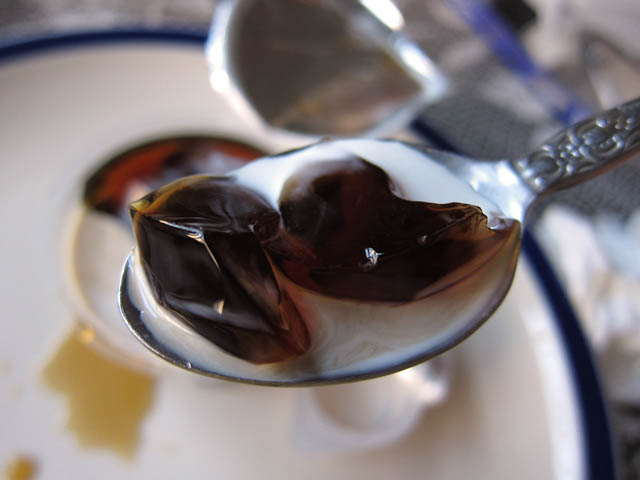
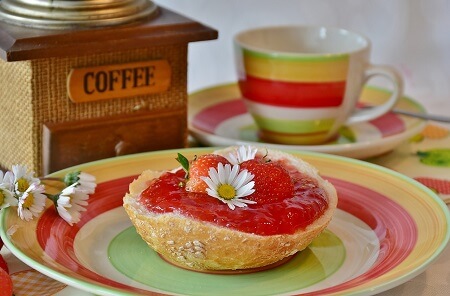
Coffee Jelly Recipe
Ingredients
- 4 cups coffee, strongly brewed
- ¼ cup lemon juice
- 5½ cups granulated sugar
- 1 (1.75oz) box pectin
Instructions
- Boil over high heat the coffee and lemon juice in a medium saucepan.
- In a bowl, mix together the sugar and pectin. Add the sugar & pectin mixture to the boiling coffee and whisk continuously until pectin & sugar are fully dissolved.
- Return to a full boil for 1 minute. Remove from heat and ladle mixture into jars.
- Wipe the rims clean and place the lids on the jars tightening until finger tight. Don't overtighten.
- Process using the Boiling Water Bath for 10 minutes.
- Set on a cooling rack or counter overnight. Store in a cool, dark place.
- Use within 1 year.
Strawberry Jam Recipe
Ingredients
- 5½ cups crushed strawberries (about 3 quart boxes strawberries)
- 1 package powdered pectin
- 8 cups sugar
Instructions
- Wash strawberries then remove stems and caps. Crush the berries.
- Add the crushed strawberries into a pot, adding the pectin and stir well. Place on high heat and, stirring constantly Bring to a full boil. Add all the sugar and continue stirring. Heat again to a full boil for 1 minute, stirring constantly. Remove from heat and skim off the impurities
- Immediately add hot jam into sterile jars leaving ¼ inch headspace. Wipe rims of jars with a dampened clean paper towel; adjust two-piece metal canning lids. Process in a boiling water canner. Makes about 9 or 10 half-pint jars
Strawberry Freezer Jam Recipe
[print-me] Ingredients 4 cups strawberries, cut in half 4 cups sugar ¾ cup water 1 package (1 3/4 ounces) powdered fruit pectin Instructions Mash up the strawberries until slightly chunky to make 2 cups crushed strawberries. Mix strawberries and sugar in...
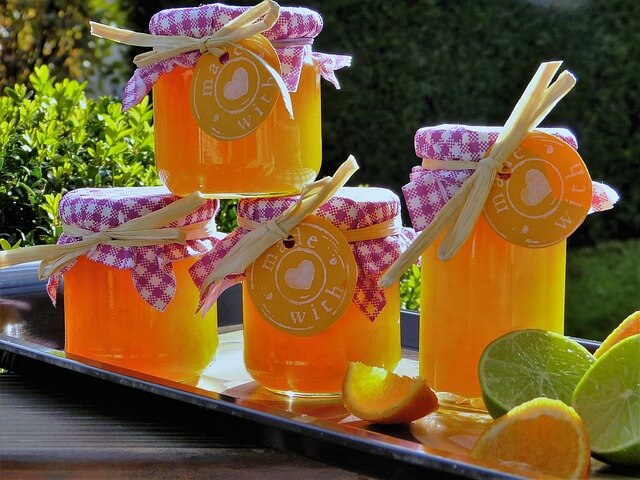
No Pectin Citrus Marmalade Recipe
No Pectin Citrus Marmalade

Ingredients
- ¾ cup grapefruit peel
- ¾ cup orange peel
- 1/3 cup lemon peel
- 1 quart cold water
- pulp of 1 grapefruit
- pulp of 4 medium-sized oranges
- 2 cups boiling water
- 3 cups sugar
Instructions
- Wash and peel the fruit. Now cut the fruit peels into thin strips and add to a saucepan. Add cold water and simmer, covered, about 30 minutes or until tender. Drain the pot. Now remove the seeds and membrane from peeled fruit pulp. Cut into small pieces.
- Combine the fruit peel and fruit pieces into saucepan, add 2 cups of boiling water and sugar. Boil rapidly over high heat, stirring frequently, until the temperature measures 8°F above the boiling point of water (220°F at sea level) for about 20 minutes.
- Remove from heat and skim the top for impurities. Pour hot marmalade into hot, sterile jars, leaving ¼ inch headspace.
- Make sure the rims of the jars are clean then add lids and process in a boiling water canner.
- You’ll get about 3 or 4 half-pint jars. Note: Leave some of the white membrane because that’s where most of the pectin is located.
