Hey! By the way… TheEdibleTerrace is reader-supported. When you buy through links on our site, we may earn an affiliate commission and as an Amazon affiliate, we earn from qualifying purchases. Thanks in advance for your support!
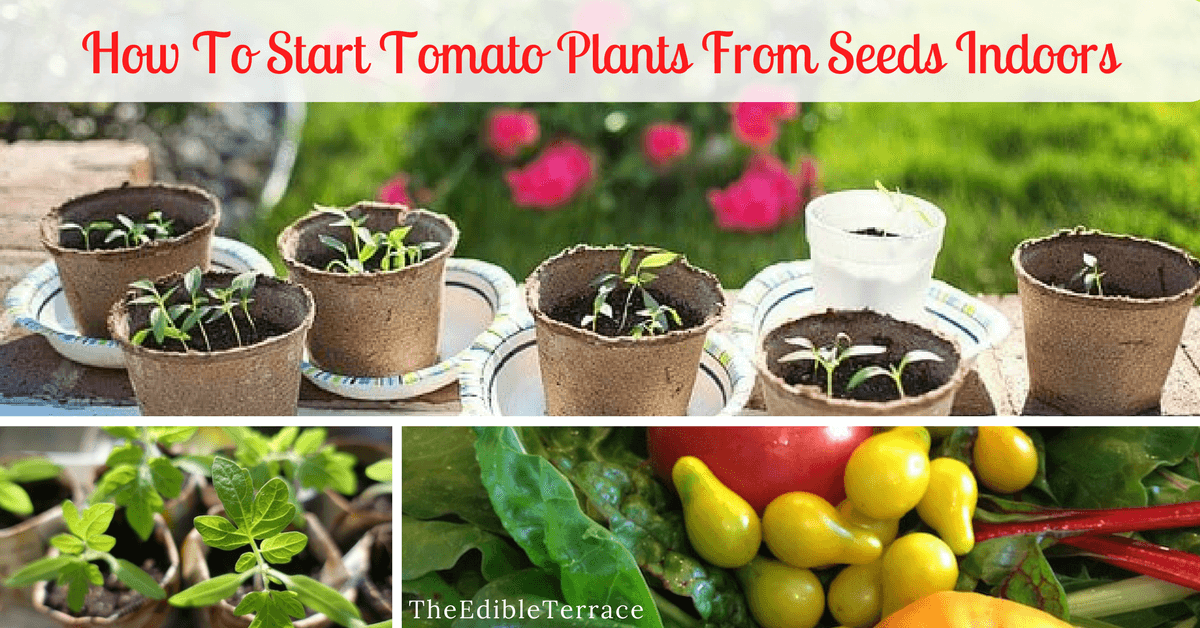
Are you planning on [easyazon_link identifier=”B01NC3QJSX” locale=”US” tag=”edibleterrace-20″ cart=”y” popups=”y”]starting tomato plants from seeds indoors[/easyazon_link] this season? Even though this is a more time-intensive process than simply buying seedlings at the nursery, there is a lot of satisfaction that comes from seeing the results of your patient efforts take shape. Additionally, you have absolute complete control over what goes into growing this plant. In other words, you know which soil it grew in and how it was fertilized. In essence, you are in control of your own destiny where this wonderful little fruit is concerned.
How To Grow Tomato Plants From Seed
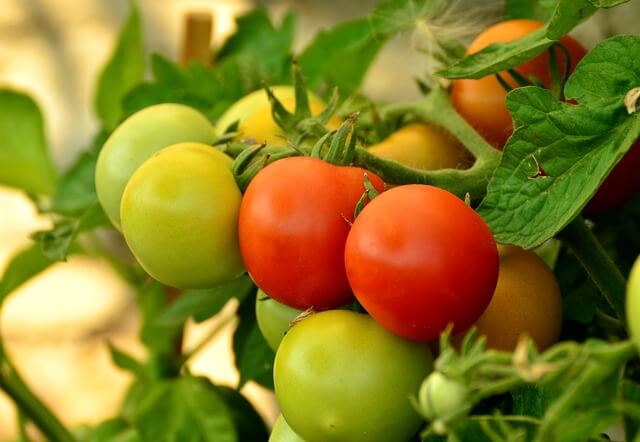
Growing tomatoes from seed isn’t terribly difficult, but it does take a little knowledge. For starters, you want to begin with the right kind of seeds. You won’t get great results with hybrid tomato varieties. They just don’t grow true to the parent plant the way a good, old-fashioned heirloom will. For recommendations on good heirloom varieties to grow from seed, you may want to consult a local gardening professional or poke around on online gardening forums.
You can also check on non-GMO seed websites such as Seeds Now. I like Seeds Now specifically because they give you SO much detail on their seeds.
[easyazon_infoblock align=”right” cart=”y” identifier=”1612122086″ key=”image” locale=”US” tag=”edibleterrace-20″]You can also enter your zip code and they will tell you which vegetables grow best in your zone.
Thus, do yourself a favor and start with seeds from your favorite heirloom varieties and follow the steps outlined below. Soon, you’ll be growing the healthiest and most beautiful tomatoes you can imagine!
Types of Tomato and the Multitude of Varieties
There are two major tomato types: Determinate and Indeterminate.
- Determinate tomatoes are “bush” tomatoes (perfect for those of you who are container gardeners). They normally do not grow more than 5ft high and all the fruit ripens at the same time (important to know for harvesting purposes).
- Indeterminate tomatoes can grow 6-8 feet high and will require caging or staking. They will grow fruit throughout their season (until the frost kills the plant).
With this knowledge in mind, you now want to figure out which varieties to grow. There are some that are considered “early-yield”, such as the beefsteak variety which are great for sandwiches. How about this Gardener’s Delight cherry tomato for your salad? Do you want to can your own tomato sauce? Then consider growing plum or roma tomatoes. You have a ton of options here which is a lot of fun!
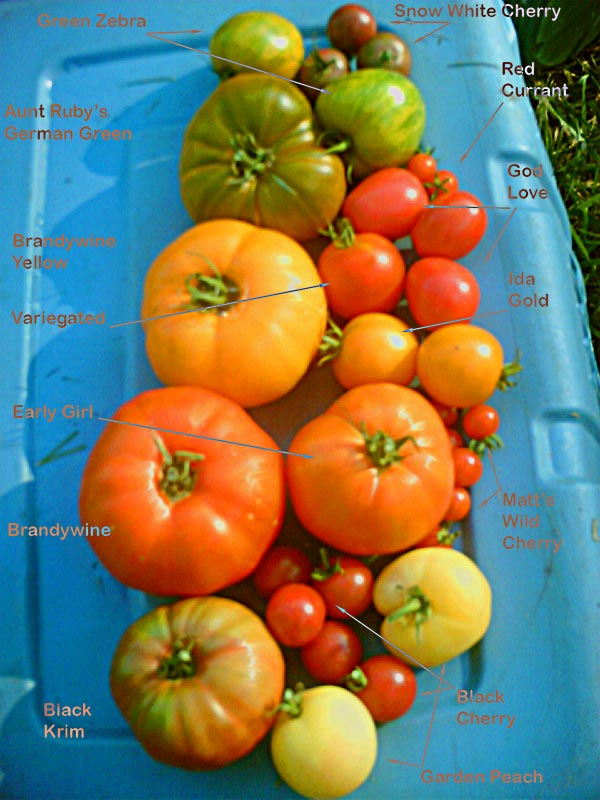
Heirloom Tomatoes
Click here to find out how to preserve your tomatoes by freezing them.
When to Start Tomato Plants Seeds Indoors
You’ll want to start this process indoors roughly 6 to 8 weeks before the last spring frost in your area. If you aren’t sure when to start, go to the Farmer’s Almanac website here and enter your zip code. It will give you both your first and last frost dates. You can also look online to find out when consistent 50 degree Fahrenheit night temperatures will arrive. Then, just work backwards from that estimated date and sow your seeds 6 to 8 weeks prior.
For example, I am in zone 8b near Tallahassee. My last spring frost date is Mar 19. If I go backwards 8 weeks, I get to January 22. Between then and February 5, I will want to plant my tomato seeds indoors.
Starting Tomato Plants From Seed Indoors
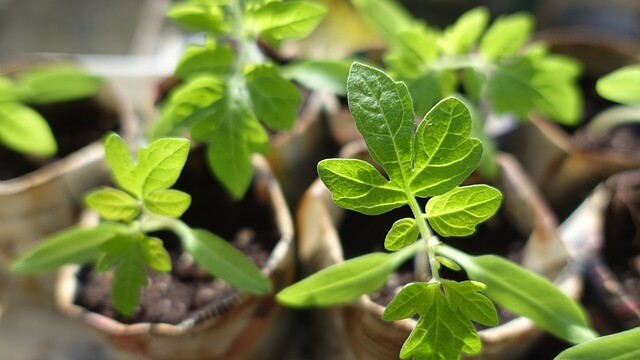
To get started, figure out how you want to go about planting your seeds. You have a few options. You can plant them in [easyazon_link identifier=”B000HHO1RO” locale=”US” tag=”edibleterrace-20″ cart=”y” popups=”y”]seed starting trays[/easyazon_link] such as this one that comes with a clear plastic cover. I have been planting my seeds in [easyazon_link identifier=”B01DL1D8JY” locale=”US” tag=”edibleterrace-20″ cart=”y” popups=”y”]biodegradable peat pots[/easyazon_link] as that has been the easiest way for me to transplant them without shocking the seedlings too much. I am actually putting my peat pots into the mini greenhouse because I want that plastic cover to keep my seeds warm and moist.
You also need to purchase a few bags of organic seed starting mix to fill up your chosen containers. The mix is moistened first (follow the instructions) then put into your containers. Make very shallow holes with a pen or pencil about 1/4 inch deep. Then, drop the seeds in. Softly cover the holes, placing 1/4 inch of soil over each seed. Water very gently, and then place these containers in an area which consistently reaches and holds 75 to 80-degree (Fahrenheit) temperatures. (The seed starting kits I recommend have a clear cover that will help your seedlings stay warm.)
Tip: Remove the clear lid after leaves appear.
Once the seeds begin to sprout, add a strong light source from either [easyazon_link identifier=”B06XHQW2WL” locale=”US” tag=”edibleterrace-20″ cart=”y” popups=”y”]fluorescent grow lights[/easyazon_link] or natural sunlight right away. If you choose to use grow lights, keep the lights on for 16 hours; your seedlings also need 8 hours of darkness so do not forget to turn the lights off after that time. An inexpensive programmable timer is a great way for you to easily keep this schedule up.
If you go with sunlight, choose a south facing window where the sun is not blocked by any structures or trees.
Transplanting Tomato Seedlings Into Bigger Pots
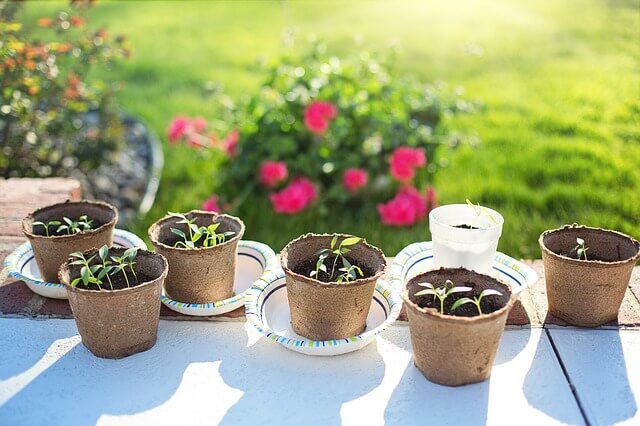
After about a month you will notice the first “true” and identifiable tomato leaves beginning to appear. It is now time to transplant your seedlings to bigger containers. This process is known as “pricking out” your seedlings.
If you used the connected peat pots, cut each pot individually. Or if you planted the seeds all together in a row, use a spoon, fork or plant dibbler to scoop out each individual tomato seedling. Transplant them into containers at least 3 to 4 inches in diameter filled with a blend of moistened, organic potting soil and mushroom compost (50/50 ratio).
[easyazon_infoblock align=”right” cart=”y” identifier=”B01M1CRG6R” key=”image” locale=”US” tag=”edibleterrace-20″]Set the plants deep into the new pot. In essence, you only want the top leaves to show. Water regularly but lightly. To ensure you do this right, I totally recommend a [easyazon_link identifier=”B01M1CRG6R” locale=”US” tag=”edibleterrace-20″ cart=”y” popups=”y”]moisture meter[/easyazon_link]. This is the one I use. It also measures the pH level which solves the problem of you keeping track of that as well. More on pH levels below.
Gently water the seedlings after planting. When the spring weather reaches and holds 40-55-degree temperatures at night (and the soil temperature is at least 55F), you can begin the process of hardening them off. Move your plants out into the sun for a few hours at a time each day. Gradually increase sunlight exposure daily over a week, until they can sit outside all day. Be careful with this process. Your seedlings will die quickly if you do not monitor them closely.
Whether you are growing your tomatoes in containers or the ground, when you are ready to transplant them to their permanent home, remove the bottom branches and plant up to just below the bottom leaves. This ensures healthy growth and a strong root system. It is encouraged that you plant the seedlings quite deep in the soil because the stem that is buried will grow more roots.
Note on soil: Before transplanting your seedlings, make sure that you check the pH level of your soil. You do not want it to be too acidic or alkaline. The soil’s pH needs to be between 6.0 to 6.8 for tomatoes. Home soil testing kits can be purchased online or at gardening and home improvement stores. Additionally, your town’s local extension office may offer laboratory testing.
[easyazon_infoblock align=”right” cart=”y” identifier=”B01NC3QJSX” locale=”US” tag=”edibleterrace-20″]Make sure you transplant during a cooler part of the day and then shade the seedlings from the full sun for a couple more days as well.
Final Steps
If needed, add tomato supports in the form of cages or stakes and water gently. Once fruit appears, fertilize with an organic tomato fertilizer every few weeks. If you see roots, add more compost to the pot to cover them. As your tomato plants grow, simply water soil when dry and enjoy your harvest!
A Few More Tomato Tips
I thought I would throw in a few organic tomato tips from the beautiful book [easyazon_link identifier=”0761126325″ locale=”US” tag=”edibleterrace-20″ cart=”y” popups=”y”]Trowel & Error: 700 Shortcuts, Tips & Remedies for the Gardener[/easyazon_link]. Hands down, this is one of my favorite gardening books. Not only is the advice top notch but the illustrations are wonderful!
- Next time you go to the beach, collect a bunch of crab shells. After you get home, crush them thoroughly and spread them out in your tomato plants’ soil.
When your tomatoes begin to bloom, pour a mix of 2 T of Epsom salt and 1 Gal of water into your soil. The macronutrients in the Epsom salt will encourage the plants to fruit. - Spreading aluminum foil out on the soil around your tomatoes will prevent viruses that are transmitted from pests such as thrips and aphids from damaging your crop.
[easyazon_image align=”center” cart=”y” height=”160″ identifier=”0761126325″ locale=”US” src=”https://theedibleterrace.com/wp-content/uploads/2017/12/5162BHY1MZRL.SL160-1.jpg” tag=”edibleterrace-20″ width=”137″]
Conclusion
Starting tomato plants from seeds indoors isn’t difficult. It just requires diligence and patience. But then again, doesn’t gardening always require that? 🙂

