Hey! By the way… TheEdibleTerrace is reader-supported. When you buy through links on our site, we may earn an affiliate commission and as an Amazon affiliate, we earn from qualifying purchases. Thanks in advance for your support!
A Review and Comparison from a New Gardener
*4 month update below on how the two methods worked – from a long term perspective
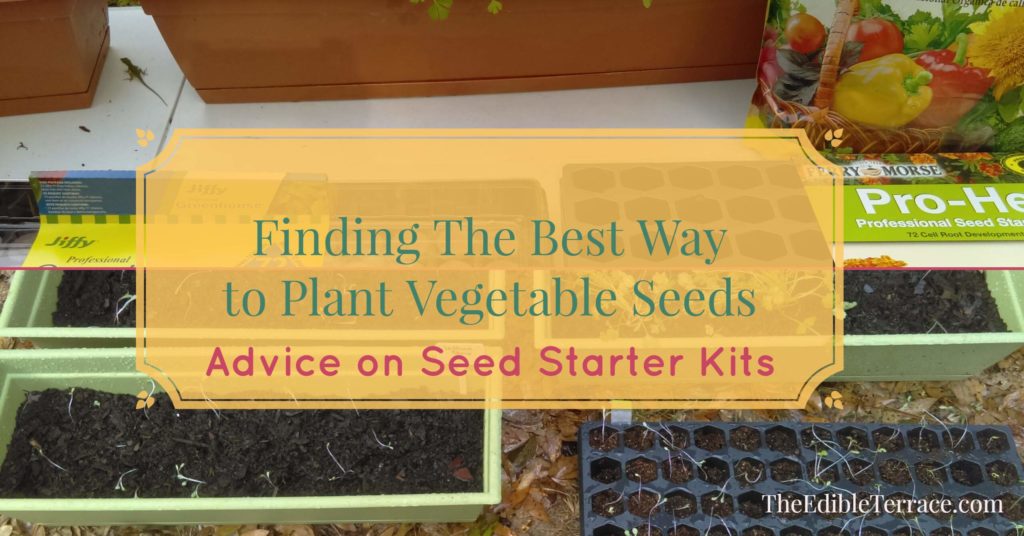
Since it is the season for indoor seed germination, AND because I am a very enthusiastic albeit somewhat new gardener I have been dying to find out the best way to plant vegetable seeds! I see seeds and seedlings e.v.e.r.y.w.h.e.r.e in my new little home town. I wanted IN with the cool crowd! So, I went out bought two 72-cell Jiffy Seed Starter Trays and two Ferry Morse Pro-Hex Professional Seed Starting Trays.
Experimenting with the Best way to Plant Vegetable Seeds
I originally bought one of the Jiffy seed starting trays and one of the Ferry Morse Trays as they each had a different way of germinating seeds and I was curious as to which was better.
Anyhoo, came home with my loot and Kevin asked me which one of those kits was HIS? Hmmmm. NONE! So, because he was threatening to steal my real estate I had to buy him his own set. Husbands these days! Give me! Give me! Give me!

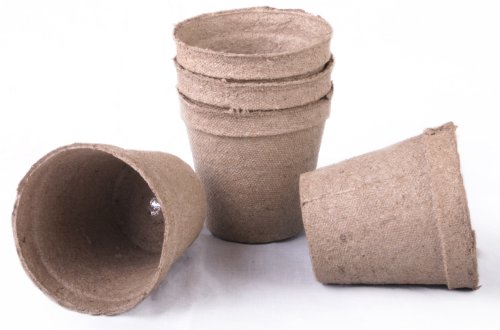
As you can see from the picture, I bought some Jiffy Seed Starting Mix for the Ferry Morse Pro-Hex kit too. Picked that up from the local Walmart. I also picked up some of the Jiffy Peat Pots for my onion starts. (Did you take note of my lizard friend?!?)
If I had my act together, I could have bought the Peat Pots MUCH cheaper on Amazon.
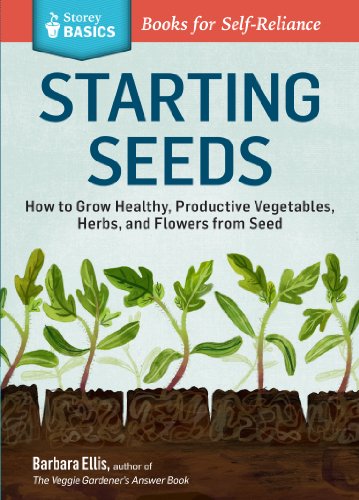
100 NEW Round Jiffy Peat Pots Size 3×3 Hot House w/Heat Mat, Tray, 72 cellsSeed Starter Germination KitStarting Seeds: How to Grow Healthy Seeds

Because I was comparing the two starting kits, I basically planted them identically. 4 rows of lettuce blend, two rows of Swiss Chard, two rows of Chinese cabbage, two rows of Dragon carrots, one row of cilantro (this former AZ girl needs to have her cilantro!) and a row of sweet bell peppers. I also planted my onion starts AND milkweed seeds in the Peat Pots but those are for another post.

The plant markers are telling me where my seedlings begin and end. Also makes it easy when I transition the seedlings to their permanent homes. The marker will just go with.
The yellow flag is telling me which way is up!
Jiffy Professional Greenhouse Kit
Per the instructions for the Jiffy Seed Starters, I gradually added 10.5 cups of water to the entire tray in order to expand the pellets. After all of the water was absorbed, I gently pulled back the netting from the top of each one. They also tell us to fluff and level the surface peat. I am not sure how to fluff a pellet but I gave it my best effort. I did level those that had leaned over while expanding.

Then I put in two or three seeds per pellet and covered them up with the peat. Depending on what the seed packet told me, some of them I barely put in the pellet. For example, the lettuce blend instructs us to only sow 1/8-inch down.
A clear plastic dome then goes over the top and you put the whole thing in a warm spot out of direct sunlight.

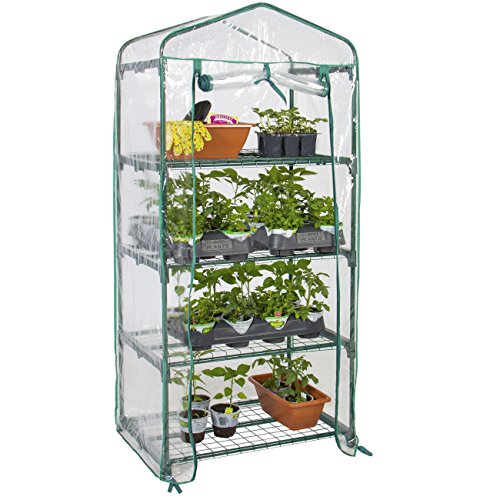
Clear dome on top and put on the shelf of our mini greenhouse. Onion starts are on the shelf above.
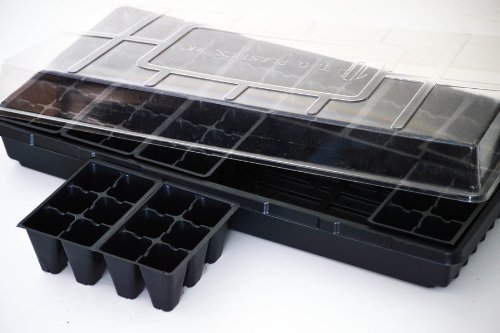
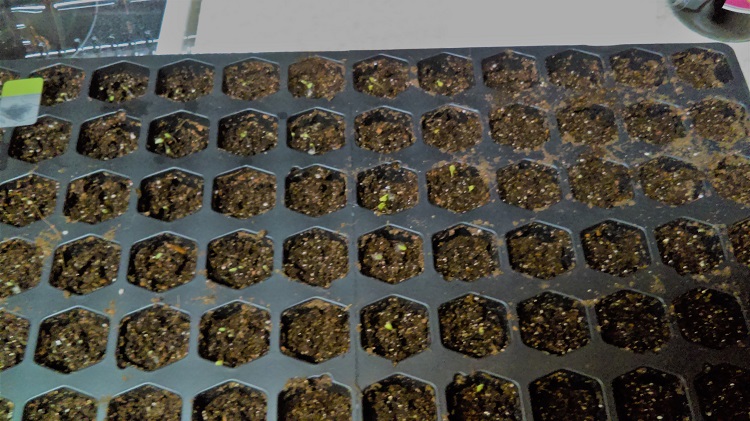
Ferry Morse Seed Starter Kit
4 Tier Mini Green House, 27″x18″x63″The Ferry Morse kit is quite different. No pellets. Instead, the tray has 72 hexagon cells that you fill with seed starting mix then plant your seeds in them. (Water the mix before sowing.) The seeds are planted according to the directions on the seed packets. Similar to the Jiffy kit, a clear plastic dome is put over the seeds and it too is placed in a warm area out of direct sunlight.
How did it go?
First, I should mention my pepper seedlings which are still in the seed trays look great and Kevin’s flower seedlings are doing really well too. (picture of them below)
At first, everything was going really well. My seedlings were coming up very nicely. The bell peppers took the longest to sprout. Even though I was supposed to wait for ALL the seeds to sprout before taking the domes off I took them off anyway after a few weeks as my lettuce and Swiss Chard were looking pretty cramped (only my bell peppers hadn’t sprouted by this time).
Both companies mention to cut back the weakest looking second or third seedling in each pellet/cell at this point. I did that a little but was enjoying watching them so much I couldn’t bring myself to pull out the twins that still looked healthy.

Day 4

Day 5

Day 13 (The lighting makes the pellets look really light brown, they were quite moist.)

Day 21
By Day 21, most of the seedlings were beginning to look a little sick so I decided to plant them in their home pots with the hope of saving them.

Transplanted Swiss Chard
Alas, that did not work very well. I even added mushroom compost to my soil. Normally, that is a miracle worker for me! <Sigh>
Operator Trouble
What did I do wrong? I have NO idea but I am going to try it again but be a little more strategic this time.
What do I mean by that?
Well, first Ferry Morse tells us to “gently pop individual plants out of cells.” That did not work so well for any of the plants. I tried pulling out and pushing up from the bottom but the soil came totally apart regardless how I tried. Maybe the peppers will do better because I am leaving them in longer (They look like they are thriving). I suspect Kevin’s flowers will do better as well since he is leaving them in until after our last frost date which is Feb. 28. (The beauty of living in NoFlo). Those all may just “pop” out like Ferry Morse tells us they will.
Kudos to the Jiffy Seed Starter Kit as the pellets make it very easy to move the seedlings to their new home. I simply picked the pellet up, put it in my pot and covered with soil. Does that mean those seedlings did better? No. They are barely hanging on as well. <sad face>
I am going to try again but keep a closer eye on them this time. Maybe I did not water them enough? Maybe too much? I confess it was difficult to know when they needed to be watered.
Jiffy tells us to water the pellets when they turn light brown. I feel like they always look light brown! The seed starter mix is so light and airy, it too was difficult to tell if it needed water or not. So I watered every couple of days. Not enough? Too much? Who knows!

Day 25 for my peppers and they’re doing great! Kevin’s flowers too. Those crazy vines all the way to the right are Sweet Peas.
Conclusion
Realizing that the Jiffy Seed Starter Trays are totally the way of the newbie, I would still buy and use them again. Why? First, it gives me a chance to start planting when I am going stir crazy from all the cold and brownness outside! It was wonderfully therapeutic watching them grow.
Second, it feels very efficient to me. I can plant multiple seeds in a very contained manner, easily monitor them, they are already fertilized and I can easily transplant them-without shocking or killing any roots. Once I master the art of the peat pellet, I will conquer! Is this the best way to start seeds indoors? The jury is still out. If you are desirous of growing vegetables from seeds though-or are just dying to start planting something <anything!>, this is definitely a good option.
Four month update on how I fared using the Jiffy Seed Starter Sets
June 2017. I do not recommend the pellets for serious vegetable gardening. i.e. your daily salad leaves. Here’s why. The pellets frequently worked themselves out of the soil (in my containers). The pellets that were planted in the ground were pushed up by the various animals that live in our ground (I assume moles). Now, Kevin’s marigolds did okay. We put them in a planter on one of our window sills. They are doing pretty well. Not very pretty at the soil level because the pellets worked themselves out again but the roots still took hold.
The Ferry Morse greenhouse kit worked better-but I had to let the seedlings go a long time (and really establish some roots) before I could take them out of the container and seeds. The seedlings I tried to pull out too early did not make it beyond a few hours. My peppers are doing amazing. In fact, I am not sure what to do with them all.
Jiffy Peat Pots. The Jiffy Peat Pots were pretty nifty. I planted my milkweed seeds in them (Kevin planted multiple flower seeds too.) and we then buried those straight into the soil. Two of the seeds took hold and are now growing. For the seedlings that shock when transplanting them, this is a pretty efficient way to start your seeds indoors.
Did I figure out the best way to plant vegetable seeds indoors? Not this season! We are full into summer up here in the FL Panhandle so the crops I was able to grow are in full swing. When late summer hits, I am going to try again with my fall and winter seedlings such as kale and spinach. I will try out different techniques this time and let you know how it goes.
