Hey! By the way… TheEdibleTerrace is reader-supported. When you buy through links on our site, we may earn an affiliate commission and as an Amazon affiliate, we earn from qualifying purchases. Thanks in advance for your support!
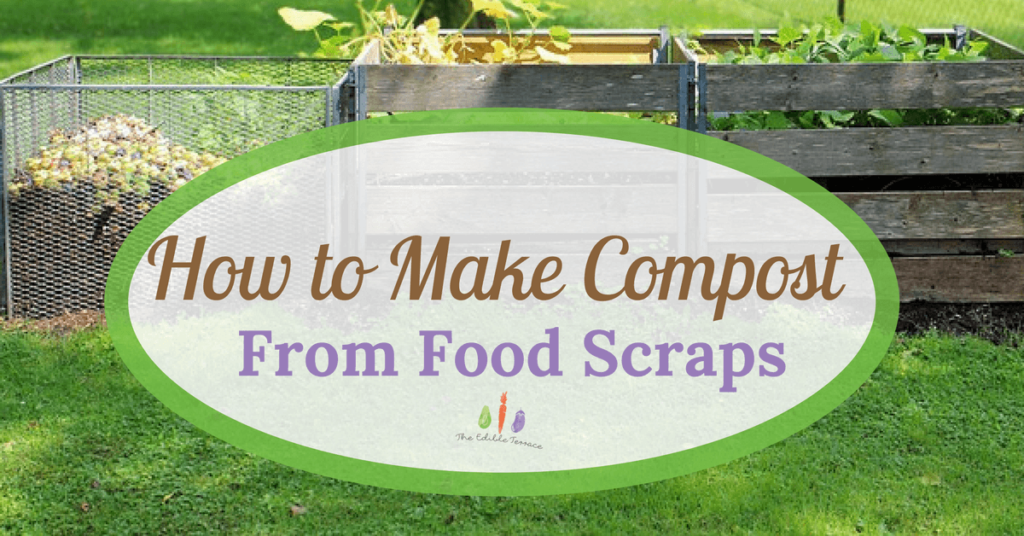
Were you aware that we Americans throw away 40 percent of our food each year? The Environmental Protection Agency tells us that throwing food away in a landfill is similar to tying it up in a plastic bag and leaving it there. The food simply rots-which produces methane gas. Methane gas is a greenhouse gas that has 25 times more potential to warm the globe than carbon dioxide.
What do they recommend if you must throw food away? Compost, of course! So, I am going to teach you today how to make compost from food kitchen waste at home so you can take one more step toward helping our children’s planet!
Assuming you are using this compost as fertilizer for your garden, another reason we love composting is the control we are taking back by knowing even more what is going into our produce. Also, think of the money saved from not having to buy it anymore!
What Can You Put in Compost?
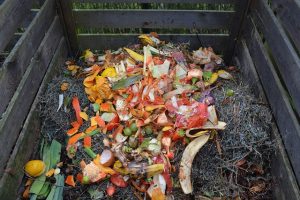
I think you will be pleasantly surprised by how much you can pull out of your garbage every day!
Items You Can Compost
- Fruits and vegetables
- Eggshells
- Coffee grounds and filters
- Tea bags
- Nut shells
- Shredded newspaper
- Cardboard
- Paper
- Yard trimmings
- Grass clippings
- Houseplants
- Hay and straw
- Leaves
- Sawdust
- Wood chips
- Cotton and Wool Rags
- Dryer and vacuum cleaner lint
- Hair and fur
- Fireplace ashes
Items You Should Not Compost
- Black walnut trees
- Charcoal ash or coal
- Dairy products
- Eggs
- Diseased plants or those full of insects
- Any animal based food item
- Pet waste (including dirty kitty litter)
- Lawn or yard waste that was treated with chemicals
How Do I Make Garden Compost?
There are two main methods for easily composting at home. You can either compost the traditional way or compost with worms (called vermicomposting).
Where you live may have a lot to do with which method you choose. Do you need to compost indoors? Then worm composting is totally your way to go. I know! WormsINyourhouse! If you have an available outdoor space, then you can go the traditional route.
Vermicomposting
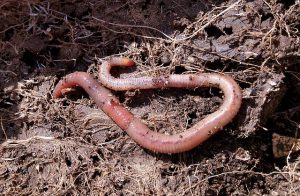
If you’re not familiar, vermicomposting is basically the act of feeding one’s non-meat kitchen scraps to worms who eat it (there are also beneficial microbes that help break your food down as well). The waste they produce is called worm castings and amazingly, worm castings are high in nutrients which your plants thrive on! The worm castings are black and look like coffee grounds.
Remember, even though these worms are inside your house you will never have to clean up their litter box or let them out at 3am because they desperately have to potty! If you do it right, your compost will never smell and as long as you put in the right ingredients, your worms will happily create amazing and nutrient rich compost for your plants.
* Some of the items worms will not eat are: animal by-products, plastic bags, fabric tea bags, coffee filters, or the sticky labels put on our produce by the grocery stores.
Vermicomposting is also easy in that you will only need to add kitchen scraps to your composting container. You do not need to worry about adding in mulch such as lawn material or leaves from your yard.
If you want, the vermicomposter can be discreetly hidden away in a pantry, broom closet or your garage.
Keep an eye on what you put in there too. If you notice the worms are not eating the food item, pull it out. Maybe cut it into smaller pieces and try again…? The EPA has a great article on how to create a DIY Vermicomposter.
What you need: a vermicomposter (DIY works just fine), a good supply of red wiggler worms, shredded newspaper or cardboard, a small amount of soil, a small amount of compost and coconut coir. Oh, and of course, your kitchen scraps! That’s it. Fun, yes?
Traditional Composting
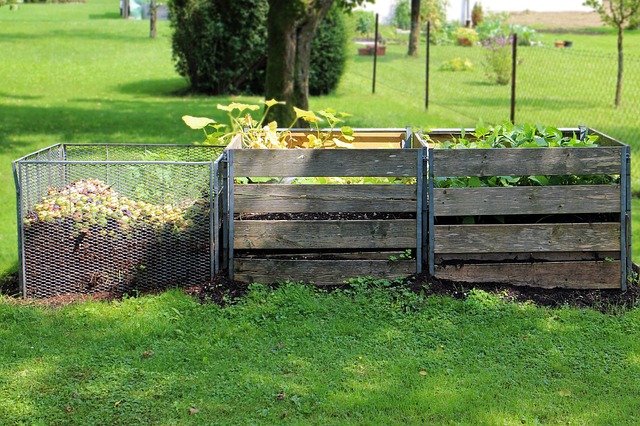
If you have read up on composting at all, it sounds a little intimidating and overwhelming. It doesn’t have to be though.
Think in terms of browns and greens. Browns are all your dead leaves, hay and even straw if you have it. In reality, you want your browns to be dry and shredded as small as possible (they will decompose faster). Your greens are your kitchen scraps and green grass clippings.
Sidenote on weeds: There are a lot of differing opinions on putting weeds into a compost pile. The seeds from weeds may spread to your vegetable garden if they are not killed off first. I have read (don’t do it myself-as I am not quite there yet in my journey) of people who will create a solar composter specifically for weeds. The weeds need to get up to 140 degrees for approximately two hours in order to effectively kill the seeds. There is a little science to this as you do not want to let them cook too long or you bake the beneficial nutrients right out of the plants.
Make a Compost Bin at Home
In reality, you can buy a compost bin, make a home compost bin or if you have the room simply create a pile in your yard. I do recommend you put it as close to your garden as possible. Save you some steps. Some people put their compost containers near their back doors so they can easily drop kitchen scraps in-especially nice when the weather is lousy!
PDF Plans for Building Your Own Composting Bin
- CalRecycle: Building your Own Composting Bin: Designs for Your Community
- Construct101.com DIY Compost Bin Plans
- City of Edmonton Do it Yourself Composting Bins
- Boston Recycling Build Your Own Compost Bin using welded wire fencing
The Easy Way to Make Compost
I have read the perfect mix is two parts brown for every one part green which works out pretty well as we usually have way more dead leaves and pine needles than kitchen scraps and grass clippings (at least I do anyway!). In reality though, don’t let the concern of making sure your mixes are perfect dissuade you. It will all decompose anyway!
When you first begin, just pile everything together in your chosen composter and step away. (To keep the mice and other small creatures away consider burying your kitchen scraps under a couple inches of your brown material-won’t be as pungent then).
After you feel like you have a pretty decent pile, pull out your pitchfork, shovel, whatever you have and mix everything up. This will definitely speed things up.
Now, after a little time, as you get more familiar with digging around in your pile, smell it. If it does not have that wonderful earthy smell to it, you are probably low on water. No big deal. Give it a sprinkle. Don’t soak it. Pretend you are raining on it. Turn your pile again and maybe give it one more sprinkle.
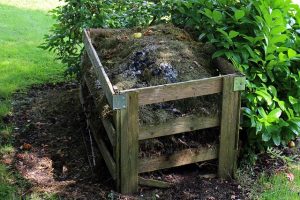
Your compost pile may look or feel a little steamy. That’s alright. In fact, it’s a good sign your waste is decomposing!
Remember, this is all an experiment. It’s about the journey AND the destination. In reality, you cannot do anything wrong here. It just takes a little experimentation.
At some point, the bottom of your compost pile will actually begin to resemble compost. You definitely want to wait a few months before putting on your plants as the beneficial microbes take time to develop.
Does it seem like your compost is taking too long? Confirm it is moist but not soaked. Do you live in a cooler climate? Maybe you need a little heat. Throw a plastic liner over the top of the heap to encourage some warming. Be careful though, it can get too hot and at minimum kill your beneficial microbes and at worst, combust. EEK!
Conclusion
That was pretty much the basics for how to make compost from kitchen waste at home. What do you think? Are you going to give it a try? Remember the favor you are doing our environment by reducing the landfill waste AND the favor you are doing your veggie garden and bank account with your lovingly created mulch. Heck. If you make too much, bag it up and sell it your friends and neighbors!
